
· by Michael Blair, Nashville's Flooring
A dog accident by the back door, a dropped cast-iron pan in the kitchen, a slow leak under the dishwasher: most damage to a hardwood floor covers a few boards, not the house. The worry is that fixing it means sanding every connected room, because hardwood in a lot of Middle Tennessee homes runs continuously from the front door to the back bedrooms. Often it does not. Whether a repair can stay in one spot depends on three things: how deep the damage goes, whether the wood has dried back to normal, and how closely a repaired area can match a finish that has been aging for years. Our hardwood refinishing crews start every repair visit with those three questions.
Damage in the finish and damage in the wood
The first test is the simplest one. The National Wood Flooring Association’s installation guidelines describe a surface scratch as one a fingernail cannot feel; it lives in the finish, and cleaning and recoating takes care of it. A scratch your nail catches on has torn the wood fibers, and a dent or gouge has crushed or removed them. Those are a different repair.
For a gouge, the usual approach is what the NWFA calls an isolation repair: fill the spot, touch up the color, and match the sheen of the surrounding finish so the patch does not catch the light. Bruce’s hardwood repair guide gives the order: clean the gouge, fill it, level the filler, sand, stain and finish. On a tight-grained, medium-toned floor, a careful fill nearly disappears. On white oak or a pale natural finish, filler reads as a smooth patch inside open grain, and a gouge longer than a few inches is usually better handled by replacing the board.
Lacing in replacement boards
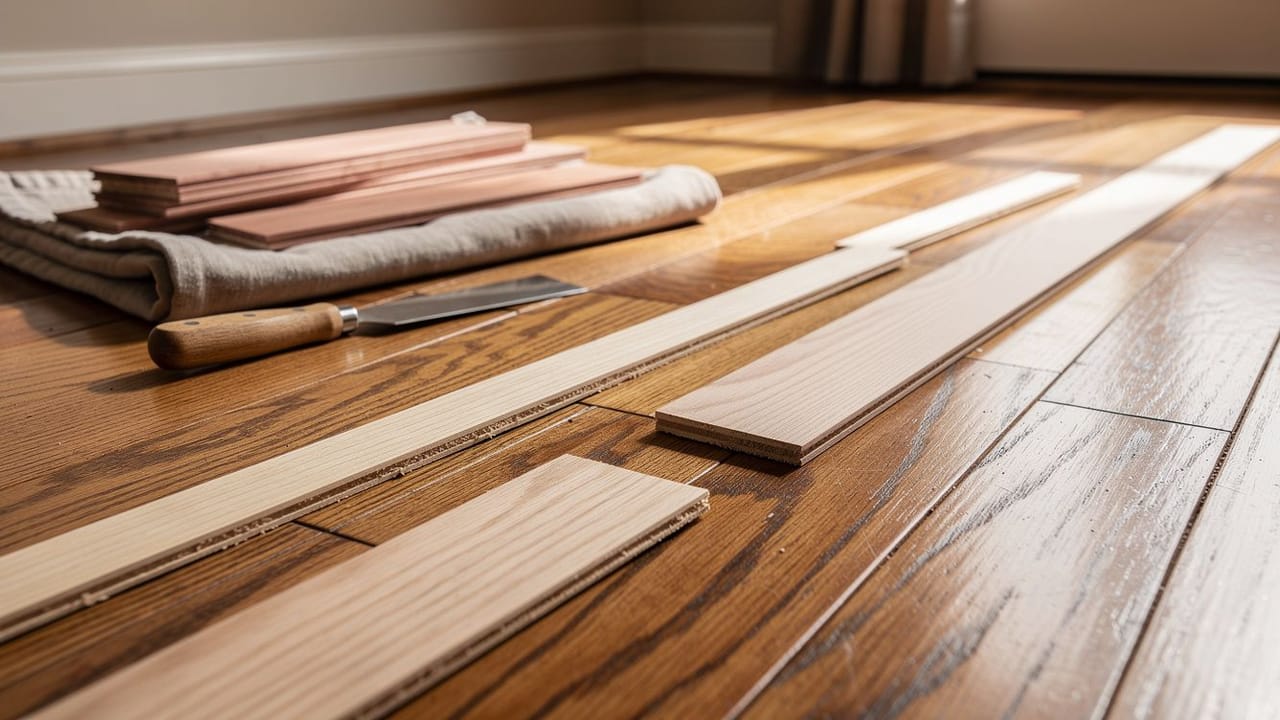
When a board is past filling, it comes out. The damaged board is cut out down the middle and the pieces are pried free without disturbing the boards around it, then a new board goes in with the bottom lip of its groove trimmed off so it can drop into place. Where nailing is impossible, the NWFA guidelines call for an elastomeric adhesive to hold it down. If the damage covers a patch rather than a board or two, the new boards are woven, or laced, into the existing floor so their ends stagger with the old pattern; the guidelines specifically warn against H-shaped joints and stair-stepped ends, which both read as a repair from across the room.
The new wood has to match more than color. The NWFA lists species, grade, cut, width, thickness, edge profile and bevel, and it says the replacement boards should be within 2 percent moisture content of the floor they are going into, or acclimated until they are. In a house over a vented crawl space, where the subfloor carries the summer humidity, that check matters: a board brought straight from a dry warehouse and nailed in tight will swell against its neighbors. The guidelines also suggest replacing one board at a time in humid seasons, and cutting a board longer than four feet into two sections. For older floors, the best match is often wood taken from inside a closet or under a built-in, with new stock filling the closet floor where no one sees it. Our hardwood installation page covers the species and widths we keep on hand.
Pet urine and water stains
Urine is acidic. Bruce’s guide to urine on hardwood explains that it breaks down the finish, that repeated accidents in the same spot can warp the boards, and that the ammonia in it can leave a dark mark. Caught early, blotting it up and treating it with baking soda overnight, then a mild hydrogen peroxide and dish soap solution, can lighten a surface stain.
A stain that has gone gray or black has reached the wood itself, and the NWFA guidelines are plain about it: stains from pet urine can be permanent damage and often require resanding or replacing the boards. In practice, sanding a black urine stain rarely removes it, because it runs deep along the grain, so those boards are usually cut out and laced in as above. The same goes for the dark ring a wet mat or a leaking plant pot leaves. If a dog is still marking the same corner, it is worth reading choosing flooring when you have dogs before deciding what goes back down.
Cupping, aged finishes and when the room has to be refinished
Cupping, where board edges sit higher than their centers, is wood answering moisture. The USDA Forest Service Wood Handbook explains that wood swells as it takes on moisture and shrinks as it loses it, and that a board moves most across its width. A cupped floor over a wet crawl space or a slow plumbing leak is swollen from below. The NWFA guidelines say the moisture source has to be stopped first, and that minor damage will often lessen or disappear completely as the flooring dries. How long that takes depends on the house and the source, so the boards are checked with a moisture meter rather than guessed at. Sanding a cupped floor flat while it is still wet only cuts the raised edges away, and once it dries, the centers end up high instead. A floor that has buckled, lifting off the subfloor, is past waiting; the NWFA says buckled boards need replacing wherever the buckling happened.
The last question is the finish. Wood changes color with light and age, and a new board stained to match today will not look like a floor that has been ambering under oil-based polyurethane for years. Bruce’s repair guide notes that matching depends on species and grain, and that a discolored or warped area has to be sanded and refinished. A small repair in a low-traffic spot can be colored and blended. A repair in the middle of an open living room, or a floor with several damaged areas, usually looks better refinished through to a natural stopping point such as a doorway or threshold. If that is where you end up, our post on refinishing hardwood or replacing it covers what a full refinish involves.
- Scratch your nail cannot feel: clean and recoat
- Small gouge or dent: fill, color and match the sheen
- Black urine stain, deep gouge or split board: lace in new boards
- Cupping: stop the moisture, let it dry, then decide
- Buckling, or damage across a large open area: replace and refinish the room
Sources
- National Wood Flooring Association, Wood Flooring Installation Guidelines (rev. 2025), Repair, Replacement and Removal — Scratch test, isolation repairs, matching and the 2 percent moisture rule for replacement boards, lace-in patterns, urine stains, water damage and buckling.
- USDA Forest Service, Forest Products Laboratory, Wood Handbook, chapter 4: Moisture Relations (FPL-GTR-282) — How wood swells and shrinks with moisture and moves most across its width.
- Bruce, Guide to Hardwood Floor Repair — Steps for repairing a gouge, warping, and why matching depends on species and grain.
- Bruce, How to Get Pee Smell Out of Hardwood Floors — How urine damages finish and wood, and first-response cleaning.